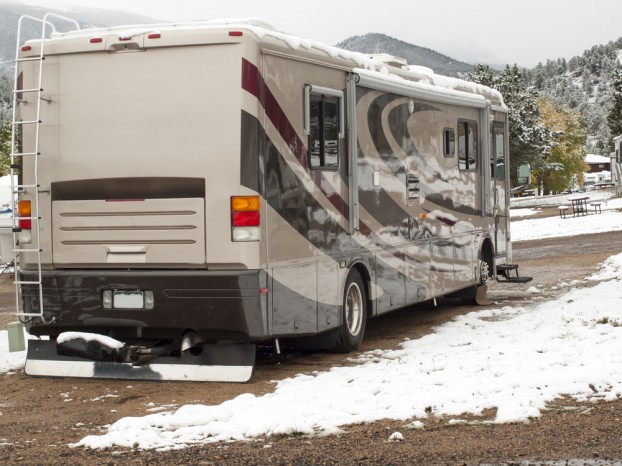
Owning an RV makes the camping life a little easier, but it takes a little more upkeep than a tent when the end of camping season comes in sight. When you’re done traveling for the year, there are necessary steps you must take to winterize your RV to ensure it stays in tact throughout the cold season. Not taking these steps will likely result in a pipe or appliance freezing and busting, creating more work and costs for you in the spring. There are two ways you can go about winterizing your RV: draining the water lines or adding antifreeze to prevent freezing.
Draining Water Lines
The first thing you will want to do is drain the freshwater holding tank, the water heater, and the black and grey holding tanks. Drain the water heater by removing a plug found on the device. After the black and grey tanks are drained, it is a good idea to flush the tanks out. If you don’t have an automatic system, the tanks can be cleaned out with wands or brushes made specifically for the occasion.

After the tanks are drained, open all faucets within your RV. Make sure you locate all of them, including the sink, shower, and toilet. Find a compressed air adapter and attach it to the water lines of the RV. Use any standard air compressor to blow water through the lines. One used to inflate tires will do the trick. After the air compressor has forced all the remaining water out of the lines, replace caps on any drains and turn off the various faucets you had on. Take your air compressor and adapter off the water lines, and you’re done!
Adding Antifreeze
If you don’t want to waste the water in your RV or go to the trouble of draining it, adding antifreeze to your water is another way to prevent freezing. Before you begin, locate the water heater and shut the bypass valve. The next step is to find where the water line connects fresh water tank connects to the fresh water pump. Disconnect the waterline that connects to the tank, but leave the line connected at the pump. Place the disconnected line into your supply of antifreeze and turn on the freshwater pump. As the pump runs, antifreeze will be sucked into the RV’s plumbing system.
With the pump still running, locate the faucet that is furthest from the fresh water pump and turn on its valve. When antifreeze begins to come out of the faucet, turn it off and proceed to the next one. Make sure to cover this for every sink, toilet, and shower in your RV. This process should require around 2 to 3 gallons of antifreeze.
Once you are done, take the water line out of the antifreeze and reconnect it to the freshwater tank. Pour a few cups of antifreeze into each drain and toilet in the RV and you’re done!
Written by the staff at Quality RV, one of the top Missouri RV Dealers.


